Tuesday, 8 August 2017

Foiled Again

Hello there,

This week is another DT heavy week, but there are only two new challenges - one tomorrow and one on Thursday - meaning that I had time to also make another little card.

I wanted to use some of my kitty stash, but wasn't sure how, as I also wanted to experiment with creating a foiled effect using embossing powders. This is what I finally came up with:

I used a pre-patterned base card (actually came with a cross stitch kit) with delicate orange flowers. I drew some swirls on some pearlescent green cardstock using a glue pen, and then used Personal Impressions Mirror Gold embossing powder. I layered the image (from Hot Diggidy Dog decoupage pack) onto this panel and layed it centrally on the base card. I used Altenew dies and stamps to create the roses and leaves - stamping with VersaMark and then embossing with the gold on the roses and Wow! Seaglass glitter for the leaves. I layered these onto the base using 3D foam pads.

I would like to enter this card into the following challenges:
CCEE 1731 Emboss it
Sweet Stampin' - Summer Fun
CAGI - time to die-cut
AYLI - fav colour duo - I went for green and pink as they make great combination for nature cards, as well as spring or summer themed cards
scrapbook stamp society #122 Summer
Kort 'O' mania #180 Summer Feeling
SUYP #21 Furrything Goes
simply create too #130 Use Flowers

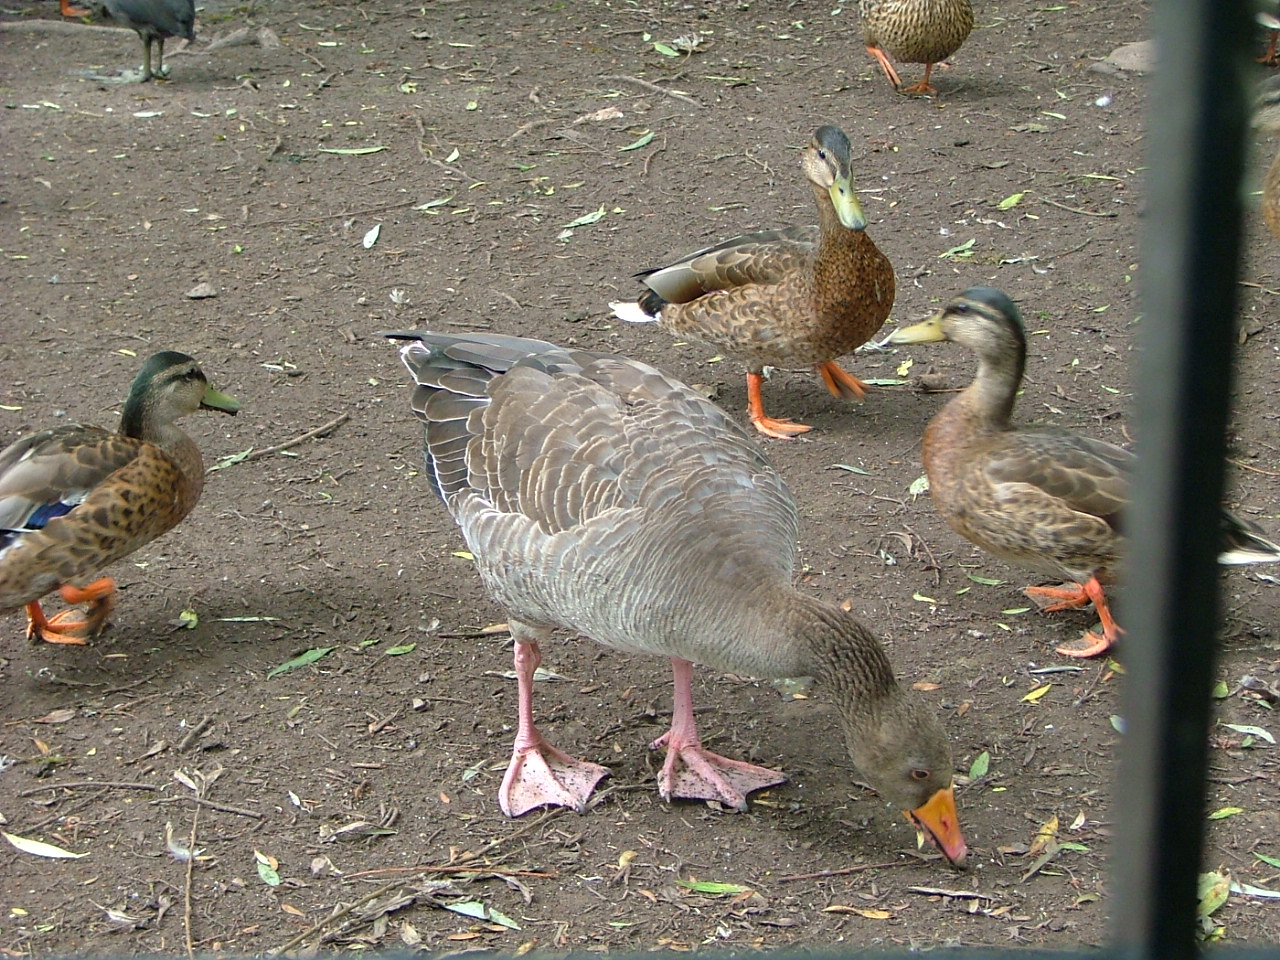
I also have a couple more pictures from the pond near me:


What is this bright orange thing??

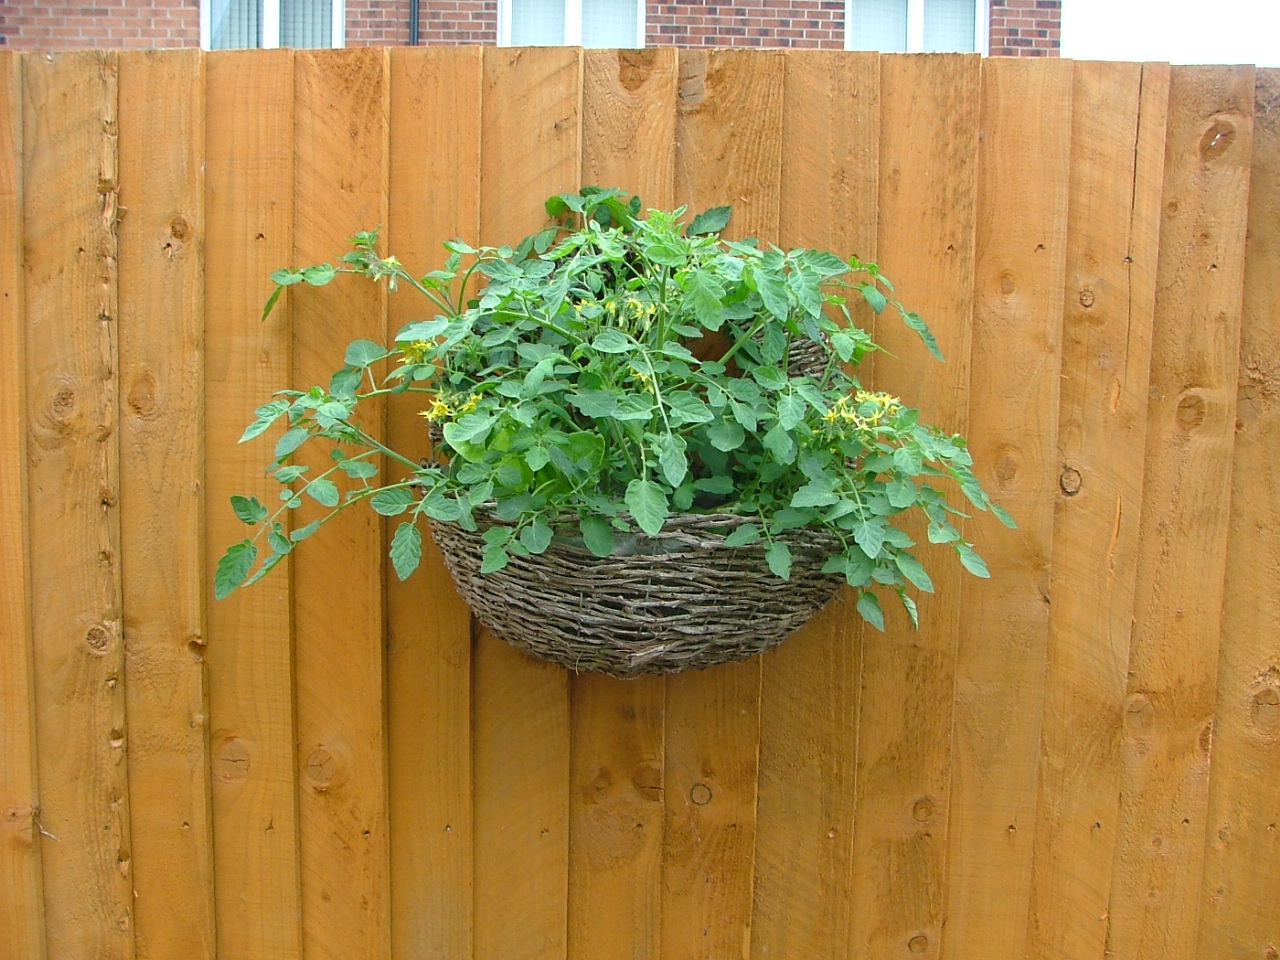
And my patio planters currently:
Pop back tomorrow for our new challenge at Creative Moments!!

Hugz Tinz


Thursday, 3 August 2017

Birthday Boy

Hello everybody to this lovely wet and windy Thursday in South Wales!! I have a new card to share with you before once again running out to work (who decided work was a good idea???).

So I used a free card making design sheet from Crafts U Love for this card. I did get the sheet about a year ago so I am not sure it is still available. This is a decoupage sheet layered onto an A4 sheet of card, which was then cut to size, as the sheet was too large to fit onto an A5 card blank.


I only stuck the top half down, leaving the bottom part, with the sentiment, to fold up. Underneath this I added the birthday sentiment. The layers were all cut by hand, and then placed together using silcone glue to give a bit of height.

I would like to enter this card for the following challenges:
OLL #234 Anything Goes
Crafting by design - Anything Goes
CMP - It's a mystery (hidden sentiment)

Here are some pictures of the locals :)


Hope you enjoy,

thanks for looking,

Hugz Tinz

Monday, 31 July 2017

Have a Hoot!

Well I am on my extra long shifts at work this week - just time to pop a quick blog post on before I have to get ready to go. Hoping I can swap my shift for tomorrow as I have relatives coming round and I won't be here to see them if I am unable to swap my shift :(

It is looking a little drier outside at the moment - the poor hubby went off-road motorbiking for the first time this weekend and it did not stop raining! He had to stop before the ride was finished just because he could no longer see well enough to carry on - due to the mud!

Anyway - here is my crafty creation for today:

This is the final image from the current Limited Runs progressive challenge. I wanted to make him look like he was flying through the trees at night, so I used a Kanban textured cardstock in black. I had to use the washi tape down the folds as you could see the cracks where the cardstock had been folded! I then cut some ivy out using a Marianne die and X-cut adhesive glitter paper. For the centre the image is actaully on part of the base that was partially cut using an X-cut scalloped circle die. I then cut the owl image using a smaller die and added to the panel. The sentiment is a separate piece. The owl is coloured using chalks.

I would like to enter this card into the following challenges:
Limited Runs - Progressive challenge
Kort 'O' Mania #179 Anything Goes
Country View #53 Things with Wings
ATSM #252 Make you Mark
Glitter 'n sparkle #250 Things with wings

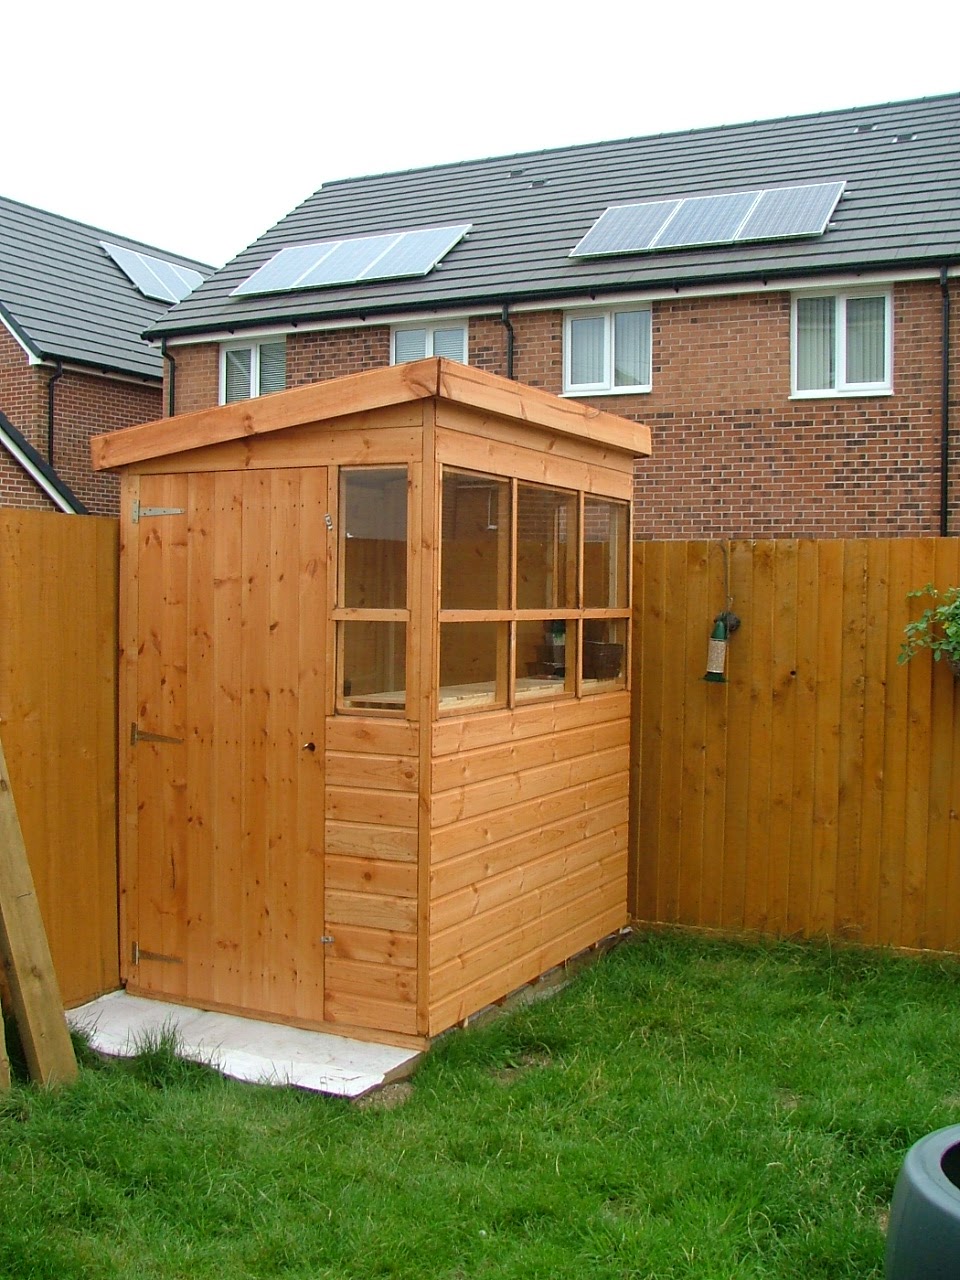
Here is a picture of my new shed!

It matches the fence quite well actually lol


And also, for those of you who are following my progress - a Dino update (36 hours on this second Dino):
Once again thank you for looking - now to dash to work!!

Hugz Tinz

Saturday, 29 July 2017

Sketchy Under the Sea

The rain is still going!! OK it has been dry this morning - enough for me to go out and do some avon, for the first time this fortnight, without getting soaked to the bone! I even went and fed the ducks up at the pond. It seems the little girl with the poorly leg may actually be getting better. Either than or another little girl now also has a poorly leg! I didn't go out where I wanted to do a butterfly count, simply because I wasn't sure when it was going to start pouring, but I did do one out by the Duck pond - and I saw a Small Copper!

Anyway - to really celebrate the wonderful wet weather we are getting currently I have made an under-the-sea themed, Just for you card:

I used scalloped sqaures which I stamped a sentiment, or a shell image onto using BlueWhispers ink. I also added a blue wave to the shell squares with the ink pad. I inked the edges of the squares too. Finally I used a couple of sea creature dies, some diamante teardrops and a central sentiment panel.

I would like to enter this card into the following challenges:

Die-cuttin' Divas #327 Under the sea
Sweet Sketch Wednesday #117

 MMM #51 Monochromatic (Blues and Blue greens - although on a grey card base)
scrapbook stamp society #121 Monochrome (Blues and Blue greens - although on a grey card base)
 inkychicks #86 Use a sentiment in place of the image

Here is my latest completed Cross Stitch piece:
He will become a Birthday card shortly!

My carrot crop that hadn't been eaten by slugs, out of the blue paddling pool:
And Doris with her new bed!!! She loves it!!

This was before the rain obviously lol.

Thank you for looking,

Hugz Tinz


Thursday, 27 July 2017

Forever Celebrations

Hi there,

It is a little nicer outside today, but apparently it is going to rain over the weekend now :(. There goes my opportunity for doing some butterfly counts and enjoying the wildlife outdoors. Guess I will have to make do with the wildlife indoors lol.

After much rushing around yesterday, due to blogger issues and a busy work day, the new challenge has gone live over at Aud Sentiments, along with the winners and top 5 from the last challenge! (I just hope I have done it all correctly). We are offering a Crafting Voucher, whcih can be redeemed at a variety of on-line stores, to the winner this time.

Anyway, our challenge for you all this time is to make a card that does not have a sentiment on the front. Do remember though that a requirement for our challenge is that a sentiment MUST be included on the creation, somewhere. Now it is up to you to figure out where you can put that sentiment, without having it on the front of the card :). I have lots, and lots, of ideas for this, but decided to go for the simple option of just adding the sentiment to the inside of my card. This challenge has made me realise however, that maybe I need to start doing more on the inside of my card - as I very often just leave this blank, except for a quick sentiment occassionally.

Here is my card, which I created using a free Forever Friends Christmas stamp:

I added some gold stripy paper to a white card base, leaving a small border top and bottom. I then stamped the star corners straight onto this using Pretty Colour black ink. I stamped the image onto watercolour cardstock, die-cut into a scalloped circle, and then coloured with Papermania Pastel Brush Watercolour Markers. The shading was created by mixing a little of the ink from the inkpad with the pen and blending this before it dried (but this ink is not a fast drying ink). I layered this onto a bright yellow circle and then placed onto the card front. I then took two punched stars and drew around the edges using a gold paint marker pen and used these to overlap the image layer. Finally I added the sentiment to the inside of the card.

I would like to add this card into the following challenges:
City Crafter #372 Something beginning with S (stars and stripes)
Crafting by designs - Get ready for Christmas (although this one can also be used for a birthday)
CCM #193 Lots of layers

Anything Goes @ Crafty Calender; Simon Says Wednesday; Cute Card Thursday #488

I would also like to share a Fish Tank update with you all - at just over 151 hours:
It is really coming along now and I cannot wait until it is completely finished!!

And for some outdoors pictures too - we went butterfly and hoverfly watching at the weekend, in between the rain, and got these lovely pictures:


As you can see I had great fun capturing the images.

Thanks for looking,

hugz Tinz


Wednesday, 26 July 2017

Summer Nights

I am loving the summer weather at the moment, although it is a shame that it seems to be really nice when I am working, and then rains when I am off. This means I haven't really managed to do many butterfly counts for the Big Butterfly Count. However, there is still time, and apparently it is not going to rain this coming weekend!!

So speaking of summer, our twist over at Creative Moments today is to make a summer themed creation. I have used Wine Tableau from Sparkle N Sprinkle for my card:

Again I coloured the image with promarkers. I mounted this onto a very patterned card base after fussy cutting. I cut some blue pearlescent card to sit in front of the table and added a sentiment strip to this. I then used a chipboard S and red peel-off letters to spell summer.

I would like to enter this card into the following challenges:

Card Mania #94 Summer Fun
Cute card Thursday #487 Summer Colours
CAGI – Summertime
ATSM #252 Make your Mark

I made a pudding with my Gooseberry and Raspberry crop that has been kept in the freezer. Hubby said they were really nice, but as they were bread based they were a little too heavy for my tastes:
And the moment you have all been waiting for - my new patio area:


 Here are the previous pictures again just for comparison:


And here is the shed base now - and before:

The shed picture will follow as it was delivered yesterday, but it is a little wet at the moment to get a decent photo.

Thanks for looking and I cannot wait to see you summer inspired creations,

hugz Tinz